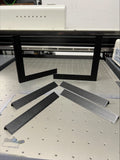
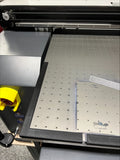
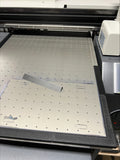
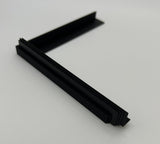
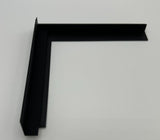
I created these corner and edge guides to help align my project jigs easily. The width of the guides are aligned with the markings on the measurement A3 bed. Once applied, all you need to do is place your jigs against the guide(s). No more guessing or holding your breath when placing your material.
Suggestion / note: If using Maintop RIP software - all my documents use 0mm margins. I then set my X and Y margin in WellPrint per job. Please note that this is completely up to you on how you want to align your material on the bed. I would suggest always running a test on paper or thin acrylic.
Instructions:
- Decide which corner(s) and edges you need to apply
- Test fit your guides along edges before applying
- Ensure alignment of edge is on top of or against measurement lines on bed (a small reveal may appear but that should be ok)
- Guides should stick up just enough to catch material edge, but not obstruct print head
- Peel adhesive backing off guide
- Apply and press firmly
- Removing guide may result in breakage as they are purposely made thin as to not rise too high above the printable surface
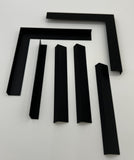
Each kit includes:
- (2) Corner Guides
- (4) Straight Guides
- Double-sided adhesive is applied under mounting area
- Be aware that once applied it will be tough to remove and may break the guide
- Kit will be stacked as shown in pics and wrapped with plenty of bubble wrap and shipped in a soft pack to keep shipping costs reasonable.
Have a 3D Printer? - download the .STL file here and print your own


